

Clone Stamp Tool Photoshop: How to Use It In 4 Easy Steps
For photo editors looking to manually remove unwanted elements and retouch manually down to the pixel, the Photoshop Clone Stamp Tool is for you.


Ever since its early development, Photoshop has been beloved by photo editors for its high-quality editing tools. The developers of Photoshop have added dozens of new tools to the software since its launch over thirty years ago but the Clone Stamp Tool is one that has stood the test of time.
The clone tool removes unwanted elements, retouches quickly and can be used in certain circumstances where other tools like the Healing Brush won’t be able to do the job. You might want to learn more about the Clone Stamp Tool because you’re on a mission to learn all the fundamentals of Photoshop. Just like learning how to remove a background in Photoshop, discovering the power of the Clone Stamp Tool is a skill that will help improve your overall photo editing skills.
What Is the Clone Stamp Tool in Photoshop?
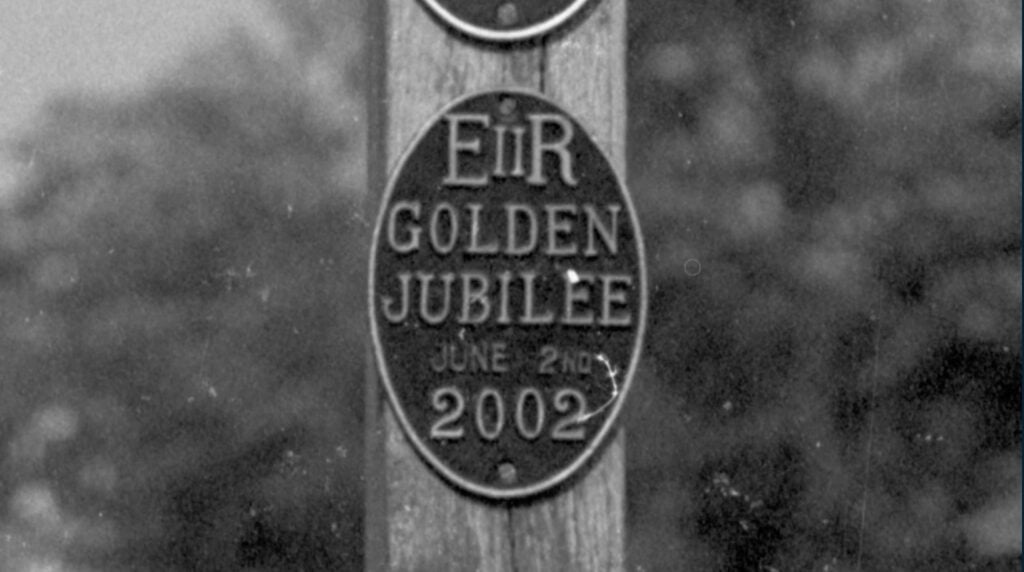
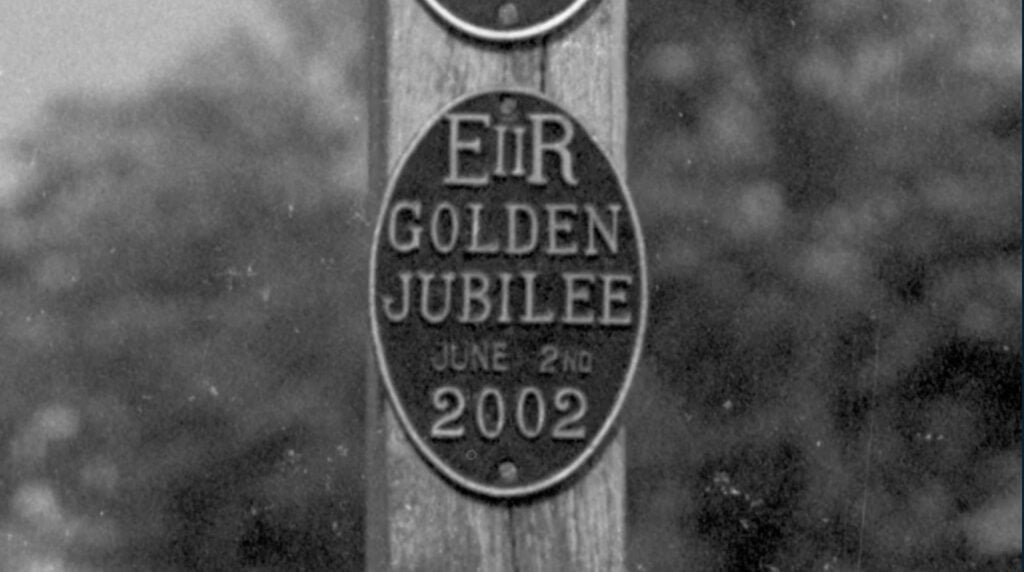
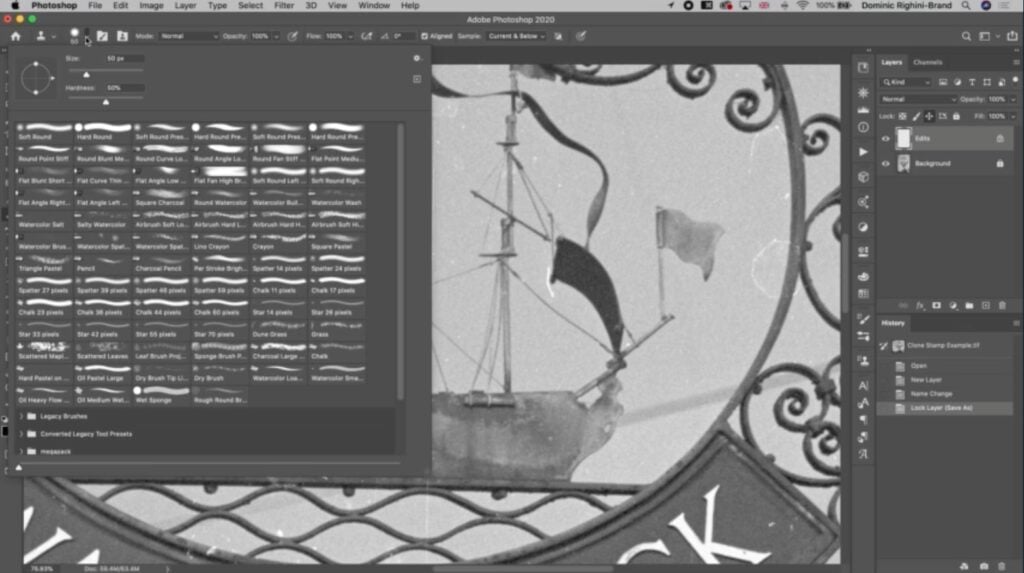
Still from Skillshare class Beginner’s Guide to Retouching Old Photographs in Adobe Photoshop by Evgeniya & Dominic Righini-Brand This photo editor used the Clone Stamp to remove unwanted imperfections from this vintage photo.
Before more modern Photoshop tools were invented, photo editors used the Clone Stamp Tool to retouch photos, restore damaged photographs, and remove objects in Photoshop. Now with tools like the Healing Brush and Spot Healing Brush, which often do the job just as well or better, the Clone Stamp Tool isn’t used as often. But because it is a completely manual tool that doesn’t blend pixels together or smartly select an area, it is a great choice for more complex editing where you can’t trust the computer to do the job and the human eye works best.
The Clone Stamp Tool works by copying, or cloning, pixels from one area of an image and applying them to another. When you access the Clone Stamp Tool, which you can find in your toolbar, a cursor will appear, revealing the size of the area you’re cloning. You’ll click once to clone the desired pixels and click again to copy those sampled pixels to another part of your image. You can improve your images manually, down to the pixel, which is why it is often used when manual retouching control is required.
You can use Photoshop to mirror an image or create a graphic, but if you’re using Photoshop mostly for photo retouching, the Clone Stamp Tool is a good tool to have in your arsenal. Even if you don’t have much Photoshop experience already, knowing how to complete basic tasks like how to resize images in Photoshop means you’re already on your way to being an expert at using the Clone Stamp Tool.
How to Use the Clone Stamp Tool?
There are a few extra tips to keep in mind when using the Clone Stamp Tool. First, if you’re working on really minute details, it can be helpful to zoom in to your photo to ensure you’re seamlessly removing unwanted objects. Next, you’ll want to be sure you’re varying your sample point. Copying from the same point over and over can cause an unnatural final render. It’s important to select sample points that closely resemble the area you’re working on.
1. Open It
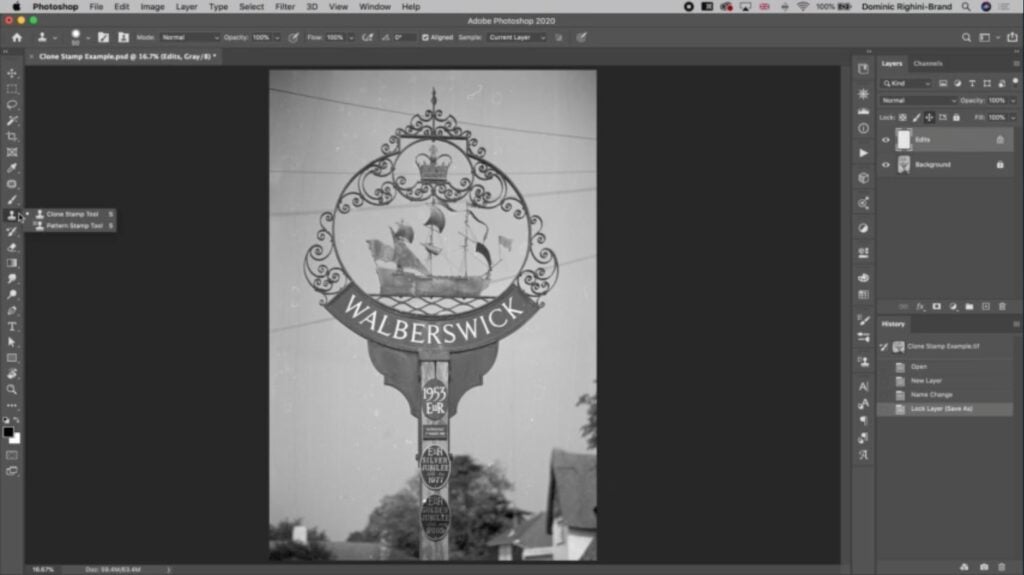
You can open the Clone Stamp Tool within the toolbar. You can bring up the crosshairs by selecting the Option key (on Mac) or the Alt key (on Windows).
2. Sample It
Click the area you want to use as your sample point with your cursor. This will copy the pixels within your cursor.
3. Clone It
Now that you have your sample you can clone it as needed. If your current brush isn’t giving you the results you desire, you can also adjust your brush type, brush size, opacity, blending mode and more to get the perfect final look.
4. Adjust It
If your sample isn’t quite right, you can change it as needed. If you’re editing an area with many different colored, saturated or lit pixels, you might need to adjust your sample very often.
When Should I Use the Photoshop Clone Tool?
There are a lot of ways to use the Clone Stamp Tool, but before you get into them all it’s important to remember that you cannot do any pixel-level editing when using Smart Objects in Adobe Photoshop, which includes tools like Clone Stamp, Healing Brush and Spot Healing Brush.
You should also know that the Healing Brush and Spot Healing Brush only work for the removal of objects of a certain size and complexity, but the Clone Stamp can be used to remove anything you’d like to get rid of. You can use the Clone Stamp to:
1. Take manual retouching control
With the Clone Stamp Tool you have to manually select the pixels you want to copy and place on another area of your image. If the computer isn’t providing a high quality automatic selection with the Healing Brush, try using the Clone Stamp Tool.
2. Paint in precise or broad strokes
You can also adjust your brush strokes as needed. There are over fifty brushes you can paint with when using the Clone Stamp tool, which you can choose based on your specific project.
You might use a fine brush to remove dust from an old photograph or a thicker brush to remove a pedestrian from a street crossing.
3. Play with flow and opacity
Besides being able to choose your brush, you can also select the flow and opacity you’ll need for your project. Use these tools to better match your sampled selection to the area you want to copy it to.
4. Duplication and cloning
The Clone Stamp Tool can be used to duplicate entire elements. You can use it to create symmetrical images, extend a background or add more trees to a nature-filled scene.
5. Get it out of the frame
If you want to completely remove something from the frame, like unwanted tourists in your family photo album of a trip to Paris, you can use the Clone Stamp Tool.
Amplify Your Photoshop Expertise
Now that you know why and how you can use the Clone Stamp Tool, you’re one step closer to learning how to professionally use Photoshop. If you’re learning Photoshop just for fun, you can spend the next few weeks solidifying your Clone Stamp Tool skills or adding new skills to your repertoire like learning how to feather edges in Photoshop. For further guidance, Skillshare has the best class selection for beginners and professionals looking to enhance their Photoshop knowledge.
Related Reading:
Calli Zarpas
Producer & Writer by occupation. Ceramicist & Newsletter Editor by avocation.
Learn Photoshop with Skillshare – Start Your Free 7-Day Trial Now!
Get Started- Unlimited access to all classes
- Hands-on learning with Photoshop pros
- Supportive online creative community


