How to Face Swap in Photoshop Like a Professional Designer
Unlock the secrets of face swapping in Photoshop with our step-by-step guide and learn to create hilarious and professional edits like a design pro.


As technology advances, so do our creative tools, and Photoshop is no exception. With its easy-to-use features, you can learn to seamlessly swap faces in your images to add a touch of humor or a splash of creativity to your design repertoire.
Whether you’re looking to create funny memes, fix the one outlier in a group photo, experiment with different facial expressions on behalf of a client or simply explore the creative possibilities, face swapping in Photoshop is a valuable skill for any designer or editor.
Discover Face Swapping in Photoshop
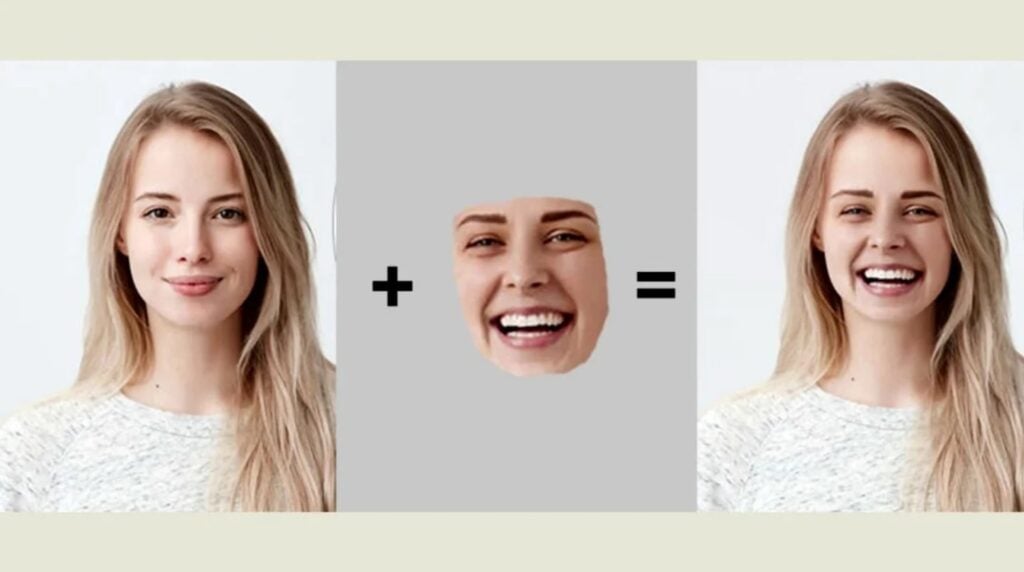
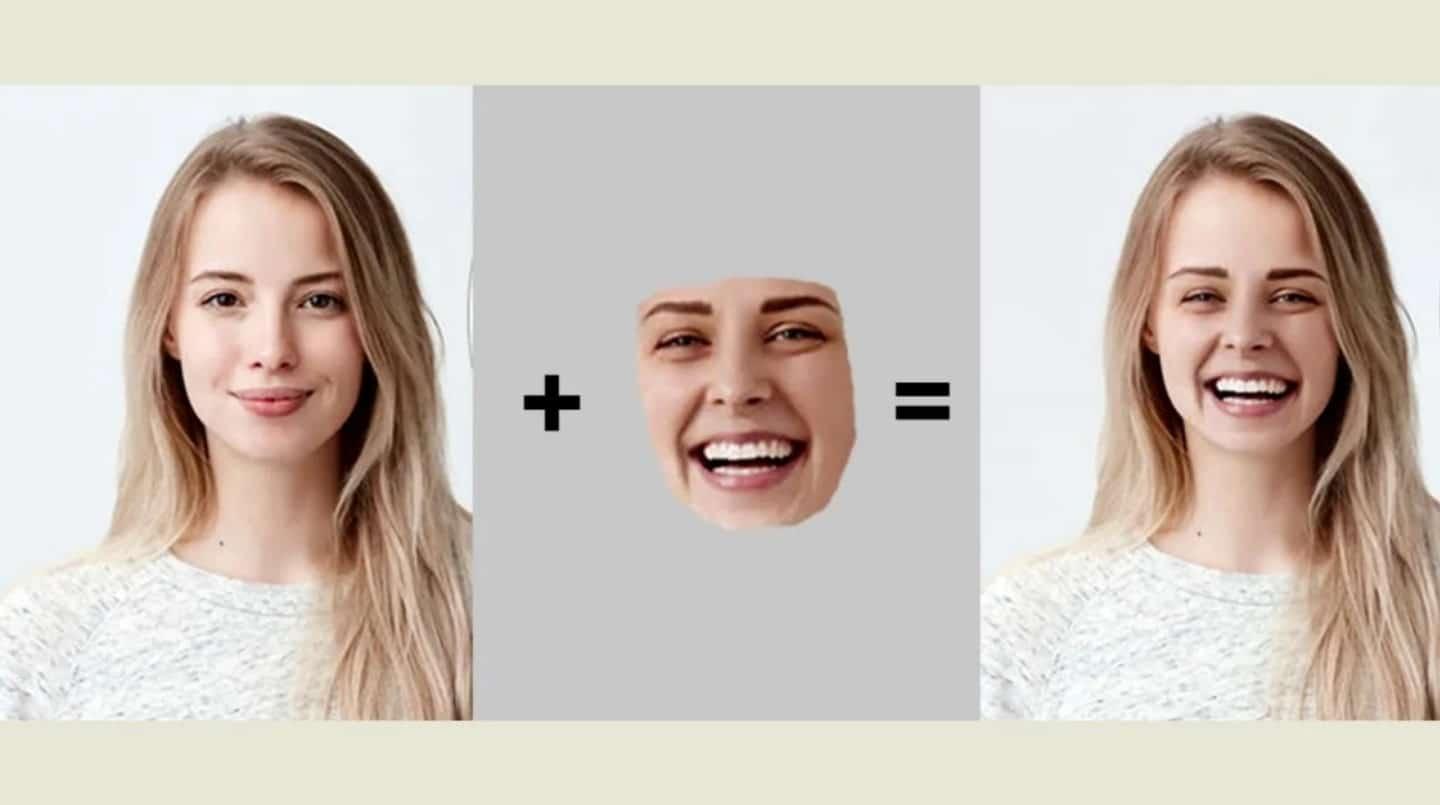
Face swapping involves digitally replacing one person’s face with another in a photo. This versatile Photoshop technique isn’t just a fun and entertaining way to manipulate photos, though. Just like replacing colors and removing objects in Photoshop, it also serves practical purposes in the realms of professional photo editing, digital design and marketing.
To understand why, imagine being able to visualize how a different person might look in just about any scenario, or testing out a variety of facial expressions on a single subject to determine which one looks best. Alternatively, consider being able to quickly create funny memes or switch out family members’ faces with humorous results.
Face swapping makes all those abilities possible, which means it’s an undeniably valuable skill for amateur meme-makers and professional designers alike.
How to Swap Faces in Photoshop in 9 Steps
Follow these nine straightforward steps to become a master of Photoshop face swaps:
1. Open Your Image Files in Photoshop
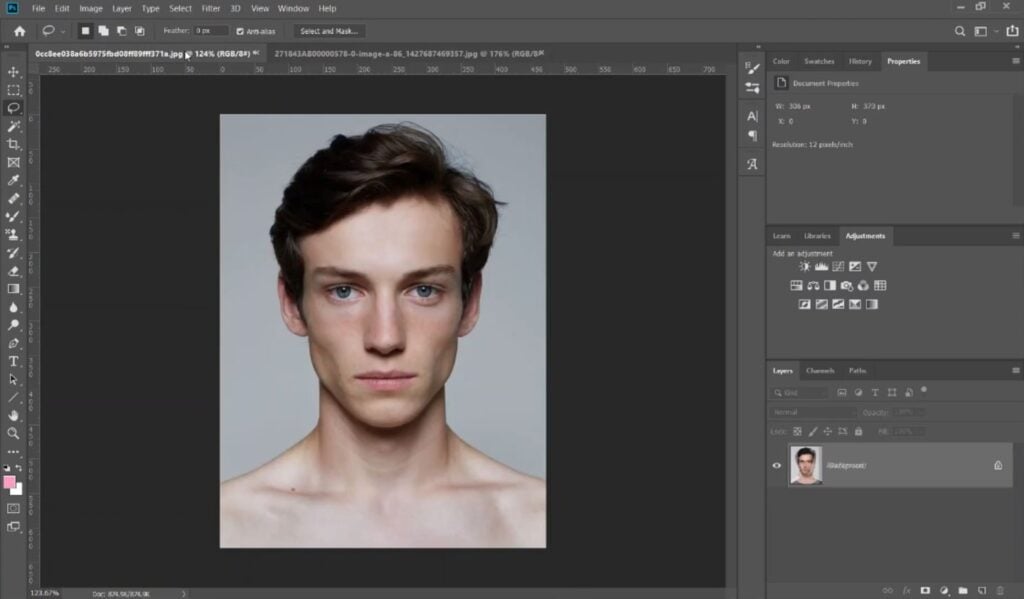
Begin by opening both the image with the face you want to replace, as well as the image of the face you want to insert into the first photo. For the best results, be sure to use high-resolution photos taken from a similar angle.
2. Select The Second Chosen Face
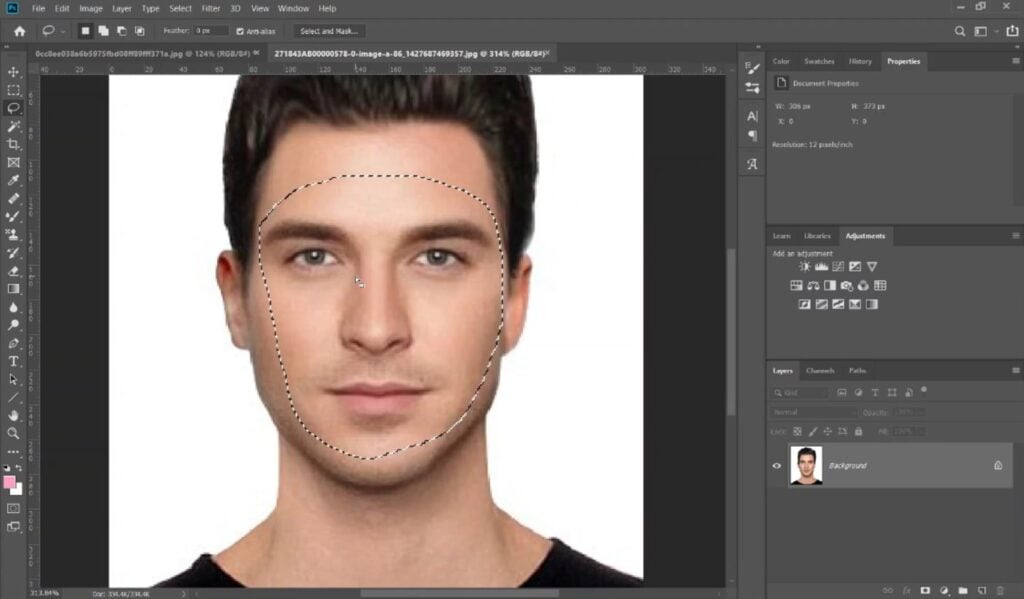
Use the selection tools in Photoshop to carefully outline the face you want to insert. Be sure to include all the facial features you want to use (such as eyes, nose and mouth), without selecting any of the ones you don’t want (such as ears, neck or hair).
3. Copy And Paste The Second Chosen Face
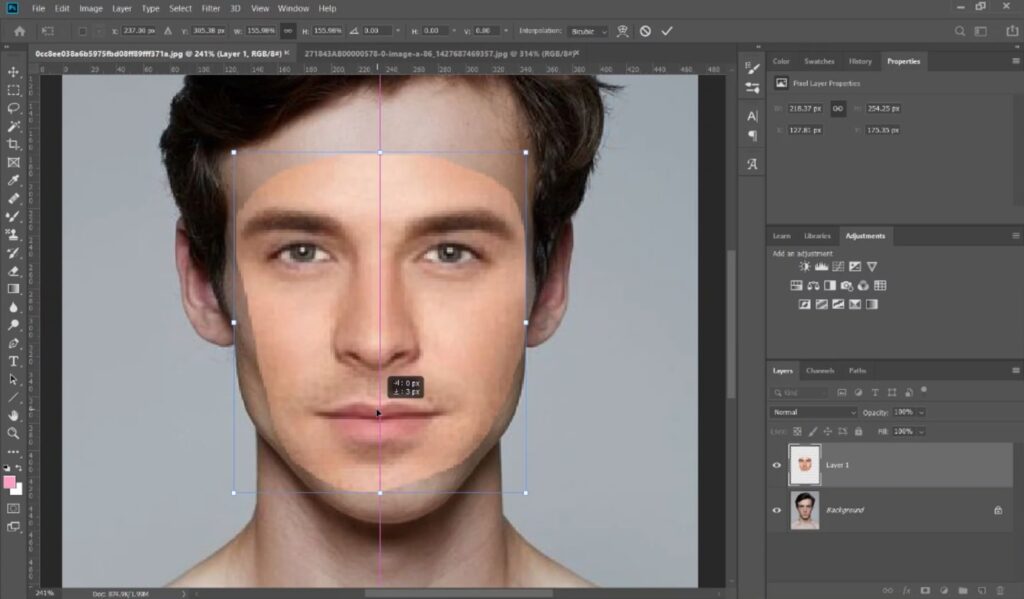
Copy the selected face and paste it onto the first image (hint: use Photoshop’s keyboard shortcuts to make this step faster). Use your cursor to position it in place, roughly aligning the facial features and ensuring it’s centered.
4. Resize The Face
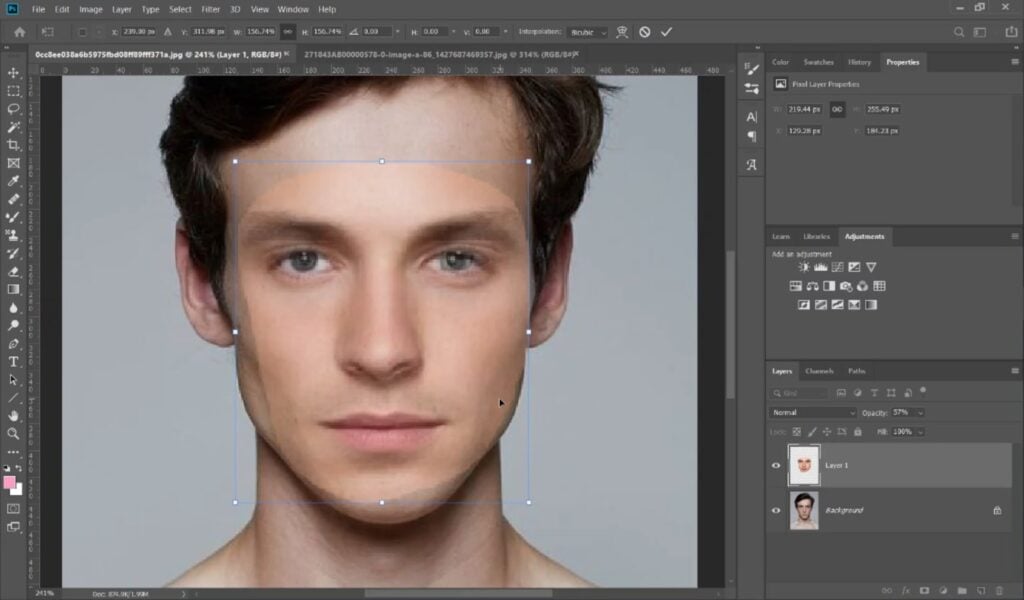
Reduce the opacity of the inserted face by 50 percent, then carefully adjust its size to match the proportions of the original face as closely as possible. This will help ensure a realistic and anatomically correct result.
Pro tip: If you see a padlock icon next to the background layer in the right-hand Layers menu, that means it’s locked and can’t be edited or moved. To fix this, either duplicate the background layer and use that new layer instead, or click the padlock icon to unlock the background layer and make it editable. And to ensure the original layer isn’t damaged by your edits, you can always convert it into a Smart Object.
5. Create A Slight Overlap Of The Face With The Body
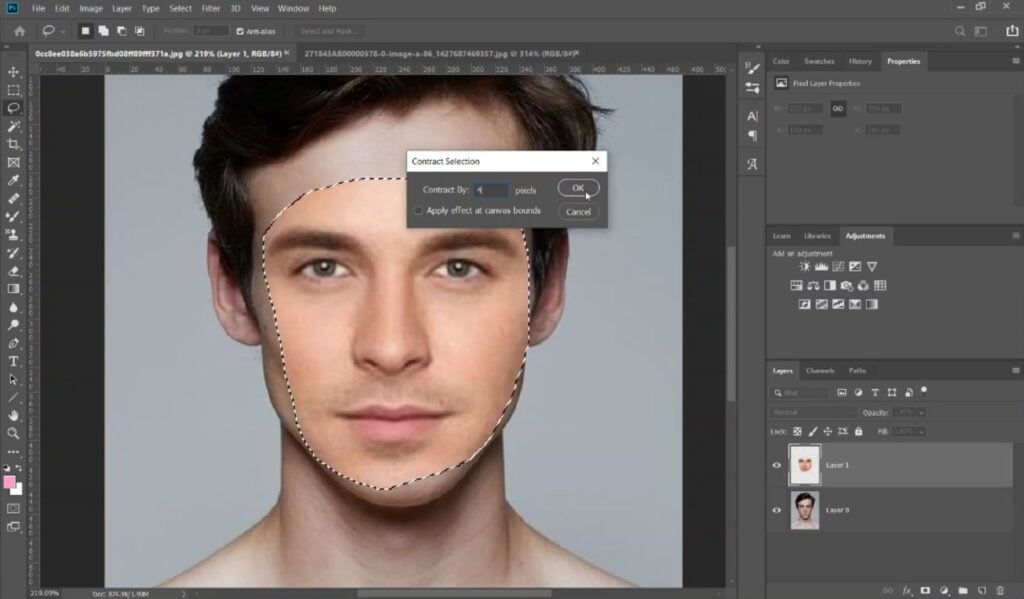
To improve realism, create a slight overlap of the new face with the body. You can do this by selecting the new face and clicking Select > Modify > Contract. Enter the pixel value of your choice (unless you’re using an exceptionally high-resolution photo, a few pixels will typically suffice) and click OK.
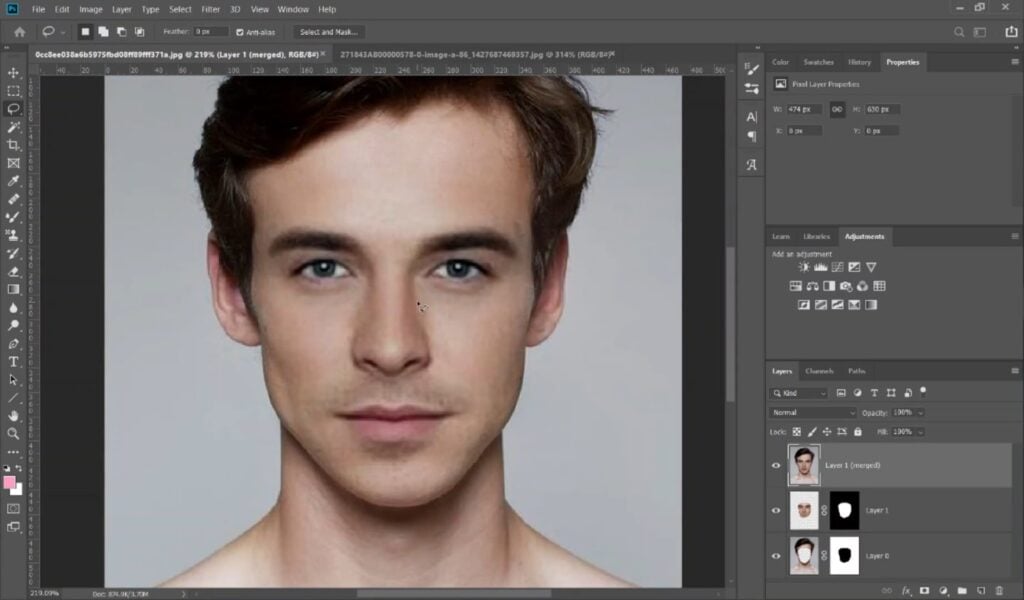
6. Make A Selection In The Body Layer
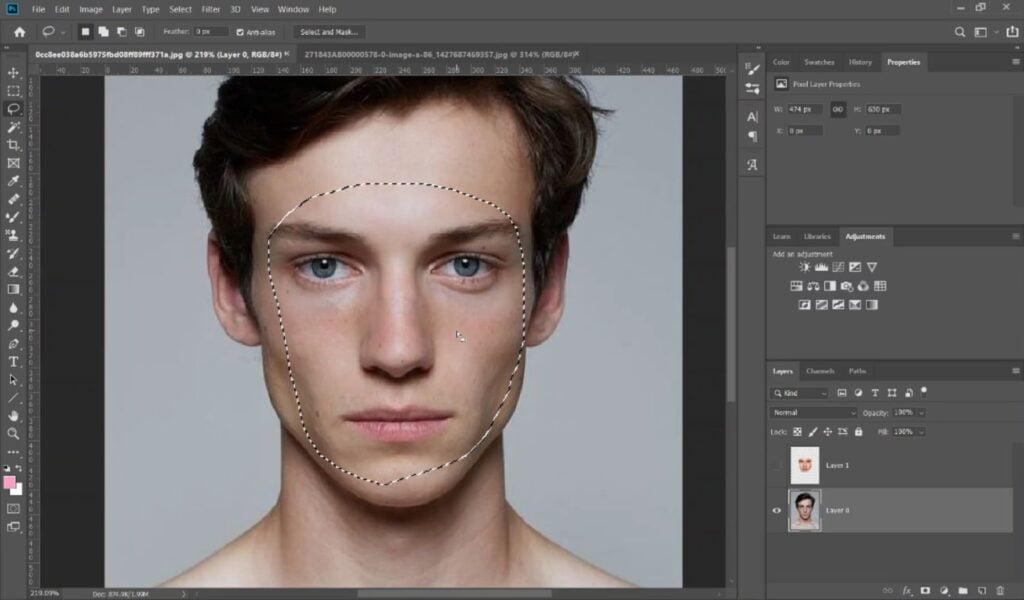
Create a selection on the body layer where the face will be replaced, ensuring the new face will seamlessly blend with the body. To do so, Control + Click (or Command + Click on Mac) on the thumbnail of the layer containing the new face. Next, click on the body layer which contains the old face. A selection in the shape of the new face’s cutout should be visible.
7. Delete The Face From The Body Layer

With the selection from the previous step still selected, press Delete on your keyboard. This will remove the original face from the body layer, leaving room for the new face to take its place.
8. Blend Everything Together
The easiest way to blend the new face onto the old one is to select both layers by holding the Shift key and clicking on the un-selected one. Next, click Edit > Auto-Blend Layers. In the pop-up window that appears, choose Panorama as the Blend Method, make sure both checkboxes are checked and click OK.
9. Perform Any Necessary Touch-Ups
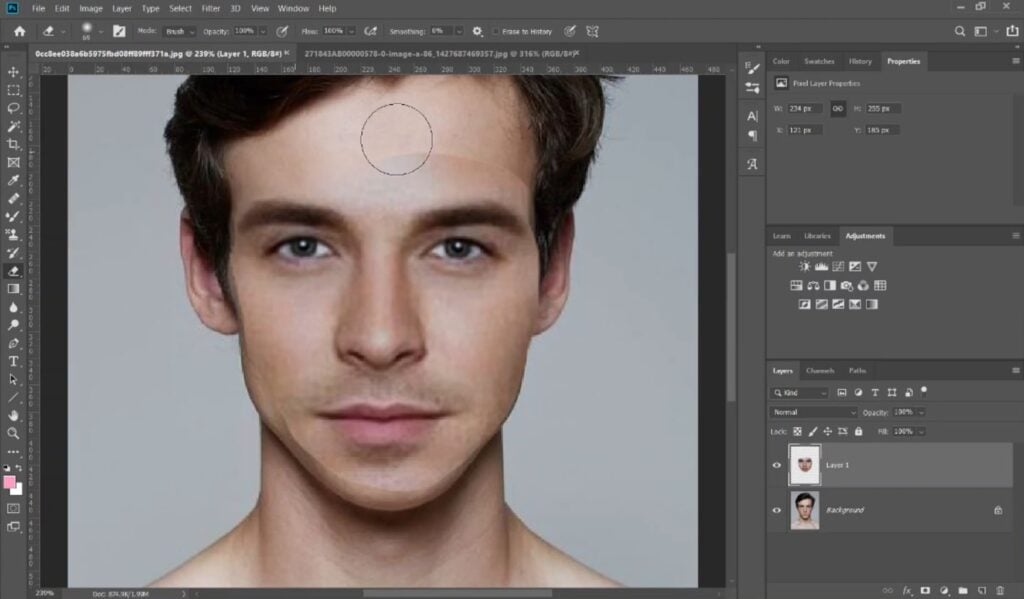
The Auto-Blend Layers command doesn’t always work perfectly. Luckily, you can quickly clean up any mistakes it makes or areas it misses yourself. For instance, you can use the Eraser tool to remove any visible edges, or use the Blur tool to feather edges that are too harsh.
Edit Your Images Like a Pro with Photoshop
In just nine steps, you’ve successfully learned how to face swap in Photoshop. With this skill in your arsenal, you can add a touch of humor to any image, create original designs that defy reality and deliver top-notch results to clients.
And when you want to expand your repertoire, Skillshare’s library of online Photoshop classes is your one-stop shop. From basic Photoshop skills to professional skin retouching techniques, we’ve got you covered.
Try Skillshare for free! Sign up for a 7 day free trial today!
Get Started- Unlimited access to every class
- Supportive online creative community
- Learn offline with Skillshare's app
Join Skillshare
Join today for unlimited access to thousands of classes and more.
Try Skillshare For Free


