

How to Group Layers in Adobe Illustrator
Organize your projects better by learning how to group layers in Adobe Illustrator with this beginner-friendly tutorial.


Grouping layers in Adobe Illustrator is a way to organize and edit all of your design elements together and more efficiently. If you’re a graphic designer creating a logo for a brand you’re working with, an artist designing a vector illustration for a t-shirt or a website designer making a multi-element layout for a client, grouping your layers can help you save time when making edits to your work.
This guide draws from Adobe Certified Trainer and Skillshare Teacher, Daniel Scott’s Adobe Illustrator CC - Essentials Training class. You’ll learn how to group layers in Illustrator, tips to grouping your layers effectively and why you should group your layers while working.
Discovering how to group layers will be a versatile tool in your design toolbox if you're looking to master Adobe Illustrator.
How to Group Layers in Adobe Illustrator
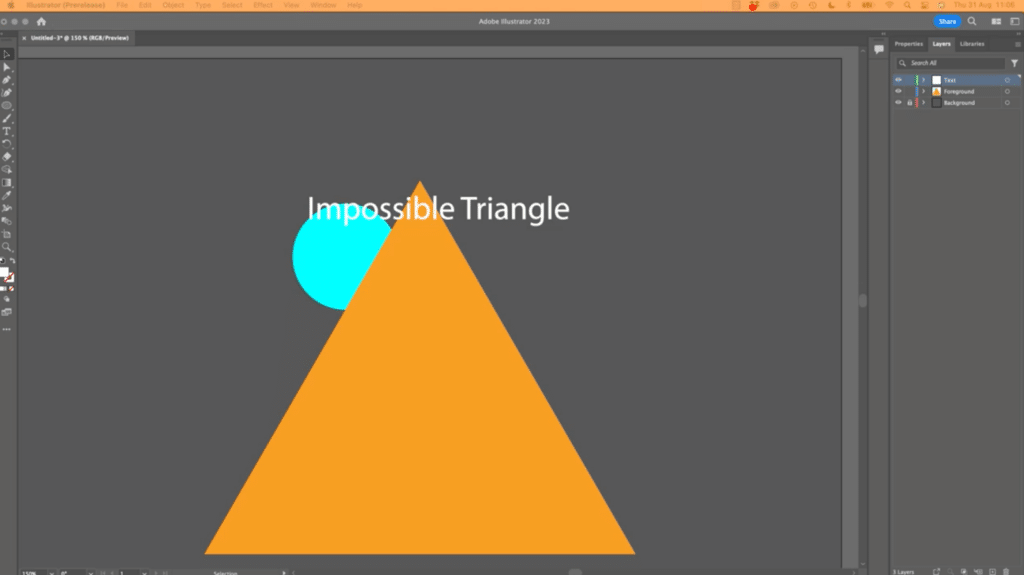
1. Access the Layers Panel
You’ll find the Layers Panel to the right of your work area. If you don’t see it, you can choose Window > Layers to open it.
Underneath the Layers panel, you’ll see a search bar and a list of all the current layers beneath it. In Daniel's work area, his text, background and objects, which are titled “Foreground,” are all on different layers.
Tip: It helps to name your layers as you create them so that you know what you’re moving around and grouping.
2. Select Layers to Group
Before you group your layers, you’ll need to select them. You can select multiple layers by using Shift or Ctrl/Command and then clicking on the desired layers.
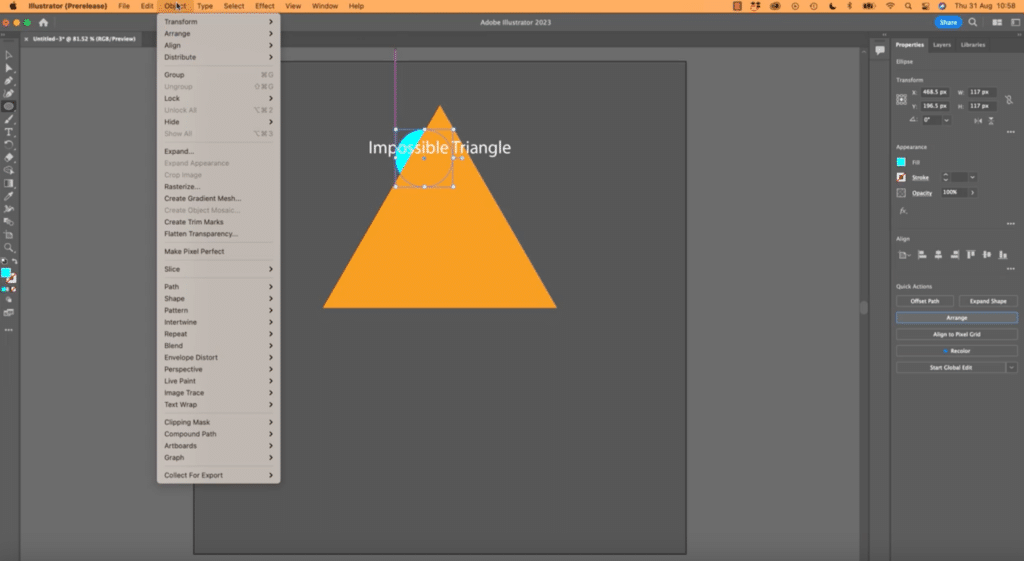
3. Group Layers
There are two different methods for grouping layers and objects. The first option is to open the Object drop-down menu from the top menu bar. Then, you can select “Group.”
The second option is to right-click your object or layer and select the Group option. Depending on what you’re working on, the Contextual Task Bar, a floating menu bar that appears under your object, might also show the Group option.
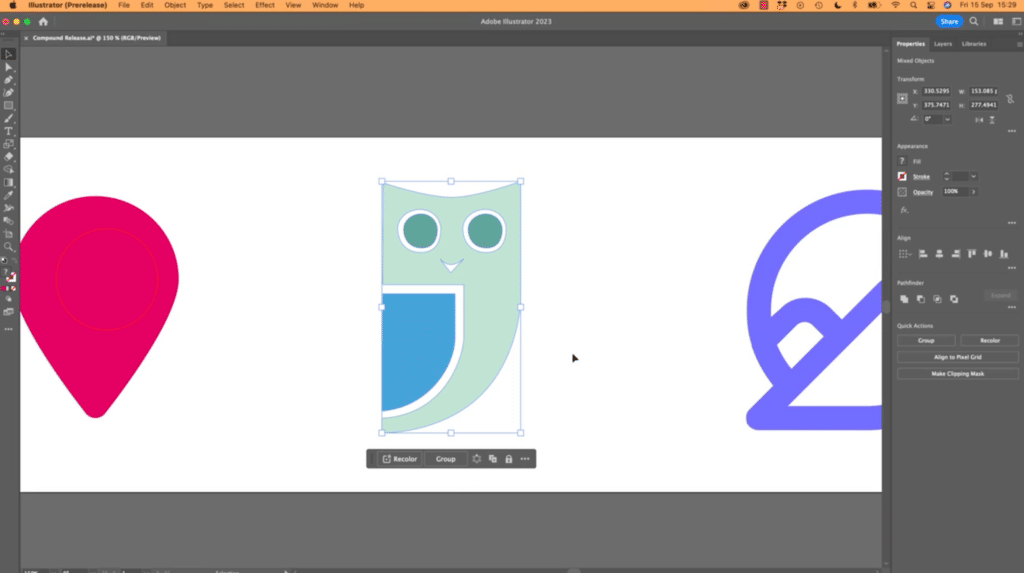
4. Grouping Objects
Here Daniel uses the Contextual Task Bar to group the different shapes in his owl graphic together. As a reminder, the Contextual Task Bar is a menu bar that will appear beneath your currently selected object and will show you actions that might be relevant to your workflow. By clicking on the Group action, he turns the different shaped objects into a single unit so he can move and manage it more easily.
5. Test the Grouping
If you want to see if your layers or objects are grouped together, you can try moving them around your canvas, adding a clipping mask or transforming them. If your actions impact each part of your grouped unit, you’ve successfully created a group in Illustrator.
Why Grouping Layers Is Useful
Designers might group their layers together for many reasons. For example, a layout designer creating a poster might want some curved text to always stay attached to the circular image beneath it.
Artists will often group objects and layers together when making a complex graphic illustration because it allows them to easily move and edit multiple parts of the illustration together.
You might start by working on a logo that combines multiple elements like images, text and graphics. In the beginning, it might make sense to work on each element individually so you can adjust their color, size and shape separately from other elements. Once you’re finished, you can group all the elements together so you can easily add them to a t-shirt, pamphlet or website design.
When you digitize a sketch in Adobe Illustrator, many of the objects in your sketch will automatically be separate from each other, so you might start the digitization process by grouping certain elements together.
Tips for Grouping Layers in Adobe Illustrator
One mistake many new designers make when trying to group their layers is selecting the Merge option instead. While it is easy to mix up the Group and Merge options, these actions won’t always accomplish the same goal.
First, you can only merge layers and not objects. If you want to edit and move your objects around together, you should select the Group option.
When it comes to layers, merging will combine all of your layers into the layer you last selected. Grouping will keep individual layers intact but will appear as Group items under the Layers panel. Within the Layers panel, you can move your layers in and out of any group.
A few other things to remember are:
- For clarity, name your layers before putting them into groups
- Group your layers instead of merging them if you think you might want to separate certain layers later on in your workflow
- Locking or hiding layers can also help further organize your layers panel
- You can create groups within your groups to form larger groups
When using advanced techniques in Adobe Illustrator, it’s especially important to name and organize your layers and objects so you don’t get confused or overwhelmed later on.
Learn Adobe Illustrator with Skillshare
The next time you’re making fast vector illustrations in Illustrator, you might be able to work even more quickly by keeping all of your objects and layers well organized with grouping.
Mastering layer management is key for efficient workflows so knowing how to group your layers can make you an even more structured and organized designer.
If you’re just starting your journey with Adobe Illustrator or still haven’t gotten the hang of the software after using it for a few years, you can explore Daniel Scott’s full Adobe Illustrator class on Skillshare. In his class, he shares additional Illustrator tips and class projects, which can jumpstart your learning and give you personal projects to add to your portfolio.
Related Reading
Calli Zarpas
Producer & Writer by occupation. Ceramicist & Newsletter Editor by avocation.
Graphic Design with Skillshare – Start Your Free 7-Day Trial Now!
Start Your Free Trial Today!- Unlimited access to all classes
- Graphic design classes for all levels
- Learn offline with Skillshare's app


